How to create a Hyper-V virtual machine
After you enable the Hyper-V on your test machine, you can now create virtual machine.
If your Hyper-V is not yet enable, please visit my post here - How to Enable Hyper-V.
To create virtual machine, follow the steps below:
To create virtual machine, follow the steps below:
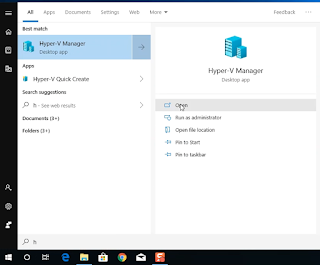
- Open Hyper-V Manager
- Right-click on the machine, then Select “New”, then select “Virtual Machine”.
A “New Virtual machine wizard” window will show.
- On the new virtual machine wizard, click “Next”

- On the Specify Name and Location:Name: VM NameOn Location, check the “Store the virtual machine in a different location”Location: VM StorageBy not checking the “Store the virtual machine in a different location” the VM will be stored on a Default storage.Then, click “Next”

- On the Specify Generation, choose which type of machine you want to create, then click “Next”

- On the Assign Memory: Input 4026 and uncheck “Use Dynamic Memory for this Virtual Machine”, then click “Next”

- On the Configure Networking, choose “vExternal”.
Note: Using External vSwitch will allow you VM to use the internet connectivity of your host machine.
(Follow the steps to create virtual switch Here!)

- On the Installation Option, choose “Install an operating system from a bootable CD/DVD-ROM.
Choose, Image File (.iso), then browse the downloaded Windows Server Evaluation ISO.
Then, click “Next”
- On Summary, click “Finish”

- The VM is now created.


Your VM is now available and you can start install OS and build your laboratory.
Happy Building! :)
....please don't forget to leave a comment below.
....if you like this post, please do share it.
/Arlene


Comments
Post a Comment