How to enable Hyper-V on Window 10 Machines
If you are trying to create a test environment, you can now use Windows 10 OS to enable Hyper-V and create test VM.
Hyper-V can be enabled on these versions of Windows 10:
- Windows 10 Enterprise
- Windows 10 Pro
- Windows 10 Education
And hardware requirements are:
- 64-bit Processor with Second Level Address Translation (SLAT).
- CPU support for VM Monitor Mode Extension (VT-c on Intel CPU's).
- Minimum of 4 GB memory. As virtual machines share memory with the Hyper-V host, you will need to provide enough memory to handle the expected virtual workload.
For more details about Hyper V requirement you can check it here: MS Hyper-V Requirements
Enable the Hyper-V on your machine:
- Go to Control Panel à
Programs à On
the Program and Features, click “Turn
Windows features on or off”

- On the “Turn Windows features on or off” windows à Check Hyper-V and then click
“OK”

- It will automatically apply the changes and wait for it to finish.

- You must restart you PC to finish the installation of Hyper V.

- After he machine has been restarted – Hyper-V is now available and ready to use.

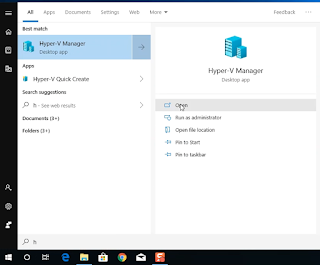
- Hyper-V is now available.


Hyper-V is now available and you can now create your VM to build your Test_Lab.
Thank you for reading.
I will be uploading how to create VM on my next post!
/Arlene


Comments
Post a Comment