How to connect your Hyper-V VM to internet
Hyper-V uses virtual switch, for your VM to communicate to each other, for your VM to communicate to the host and for your VM to be able to access your internet, if you need too.
Hyper-V has 3 categories on virtual switch, Internal, Private and External virtual switch.
- External virtual switch – is the virtual switch that connect to the physical network.
- Internal virtual switch – is use to connect all your VM to communicate to each other and to communicate to host.
- Private virtual switch – is used to connect all your VM to communicate to each other, but cannot communicate to the host.
For your VM to connect to the internet, you must create an external virtual switch.
In creating your virtual switch, you should know, which type of physical network your host has internet connectivity. Are you using wired connection or wireless connection?
To create external virtual switch:
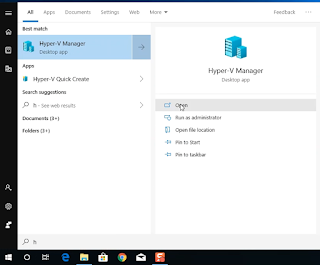
- Open Hyper-V, then on the host PC, right-click and Select ‘Virtual Switch Manager’

- On the Virtual Switch Manage Window.
Select “New Virtual network switch”, then “External”, then “Create Virtual Switch”
- A New Virtual Switch will be added to the Virtual Switches list.Provide virtual name:Name: vExternalWirelessChoose External Network, then select the physical network that your host is connected to.Click, Apply.
 Note: You can create multiple external virtual switch. I choose my wireless network because, my test PC is connected via wifi.


To create Internal and Private virtual switches, follow the steps in creating external virtual switch and choose Internal or Private.
Your virtual machine can now use your virtual switch to communicate to the host or to the other VMs.


Comments
Post a Comment